Britesea
Sustainability Master
Looks really pretty. As you say, you can cut it down later when your (cute!) granddaughter outgrows it.
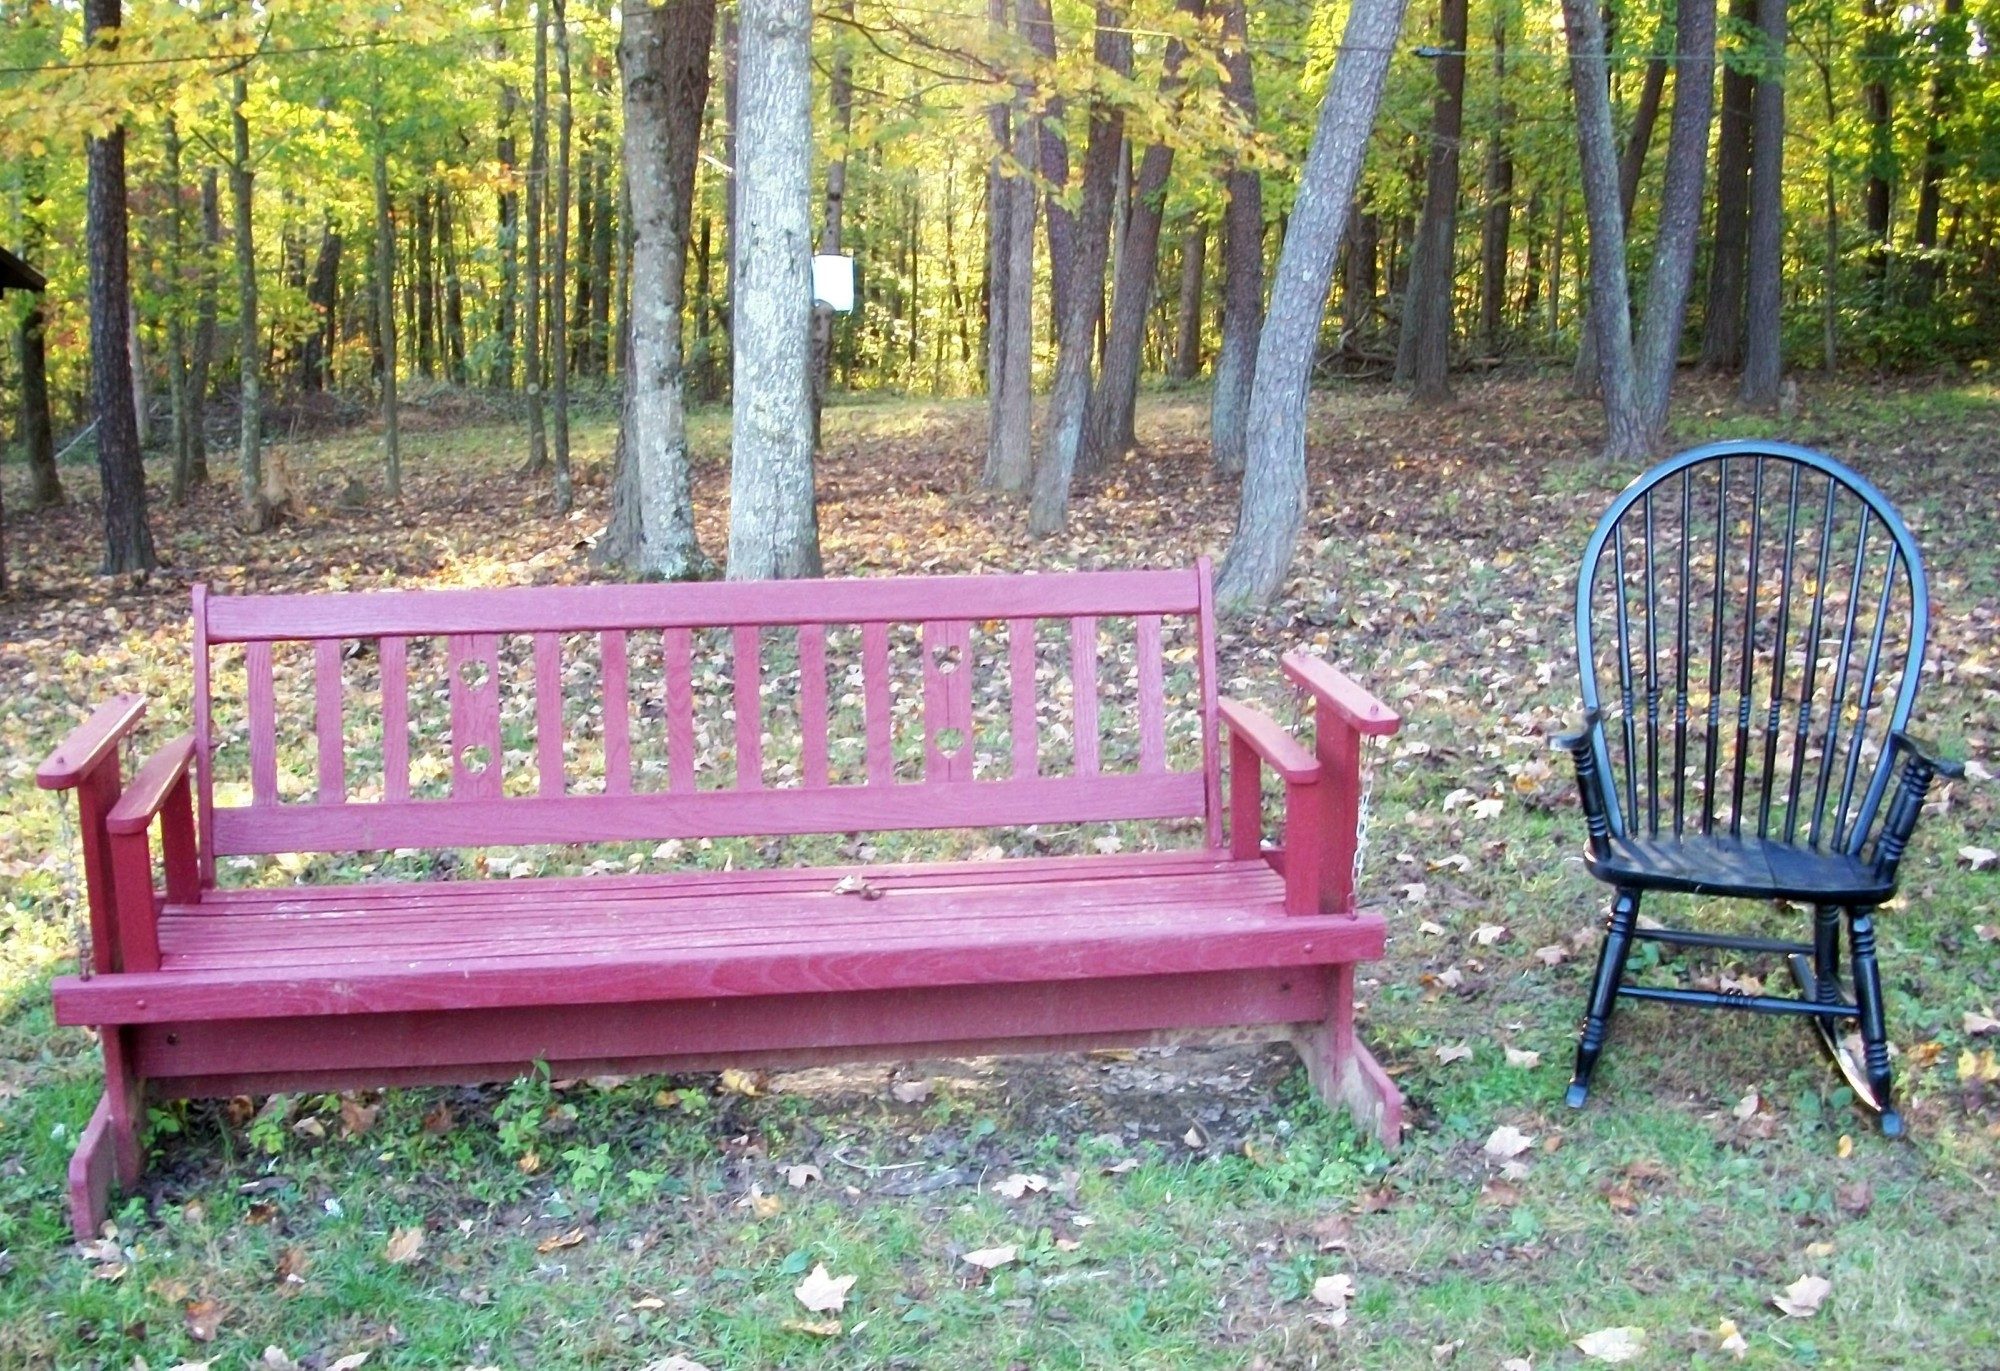
Nice concept, great re-use, pretty outcome. Yes! Thanks for posting, Beekissed. Always interesting to see your projects. (And the little darlin' is cute & sweet.)I'm always refurbishing, recycling or upcycling things, so too many to list but here's one larger one I finished just recently, though I still have to add one component.
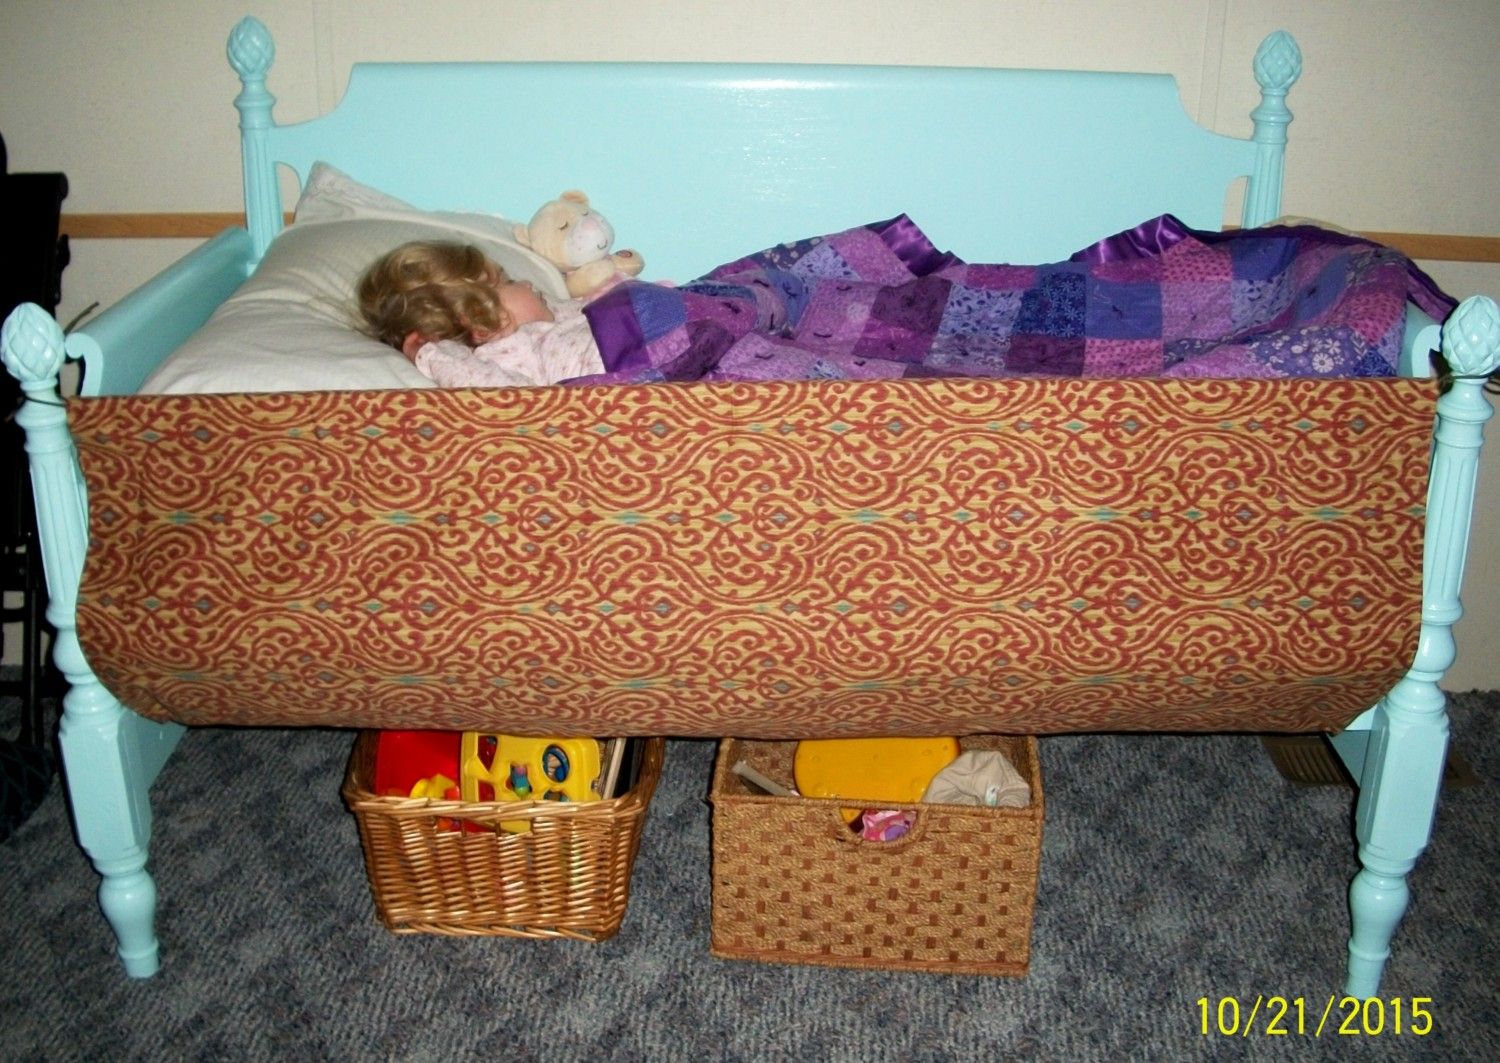
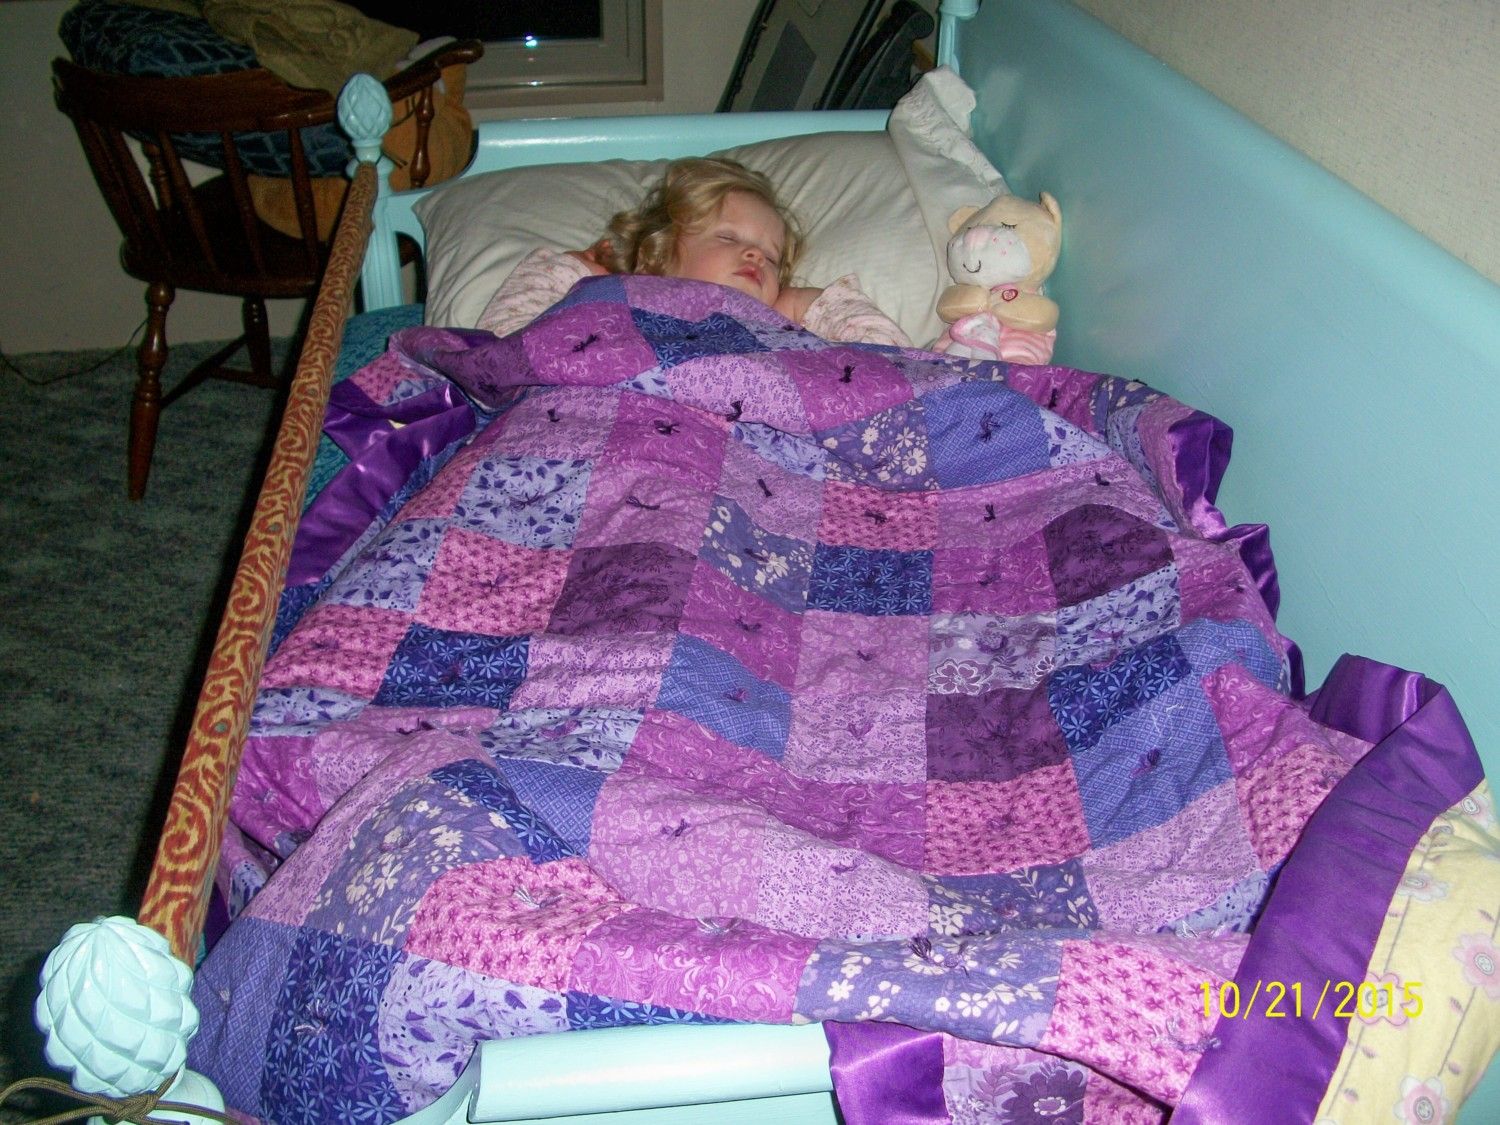
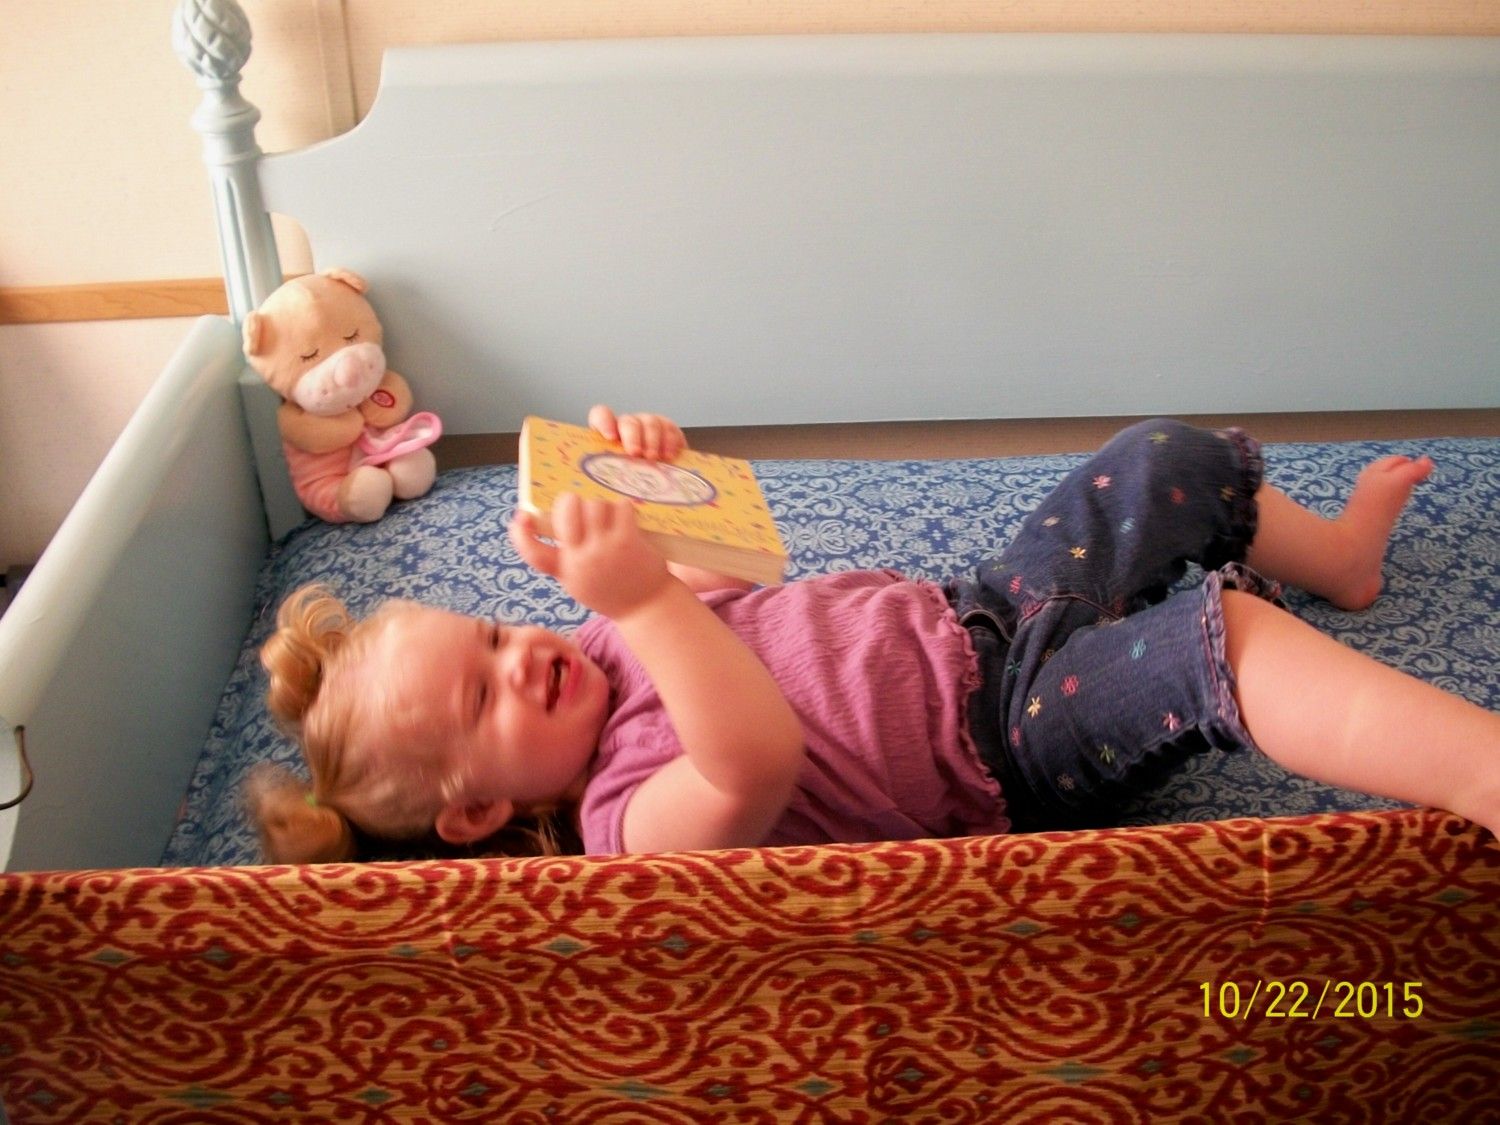
This is a full sized antique bed frame bought at Good Will for $15 that I turned into a tiny daybed/bench for my granddaughter for when she sleeps over at my house.

") Good thing I don't know any such people!!
Good thing I don't know any such people!! 