Candle Making

The Country Girl

Lovin' The Homestead
Joined
Jul 21, 2017
Messages
18
Reaction score
15
Points
70
Location
Somewhere in Maine!
Hey There Everybody,

It's me, The Country Girl. How are ya all? Deciding to make this thread... Here I am.
Well, I have been wanting a project/hobby kinda thing to do.

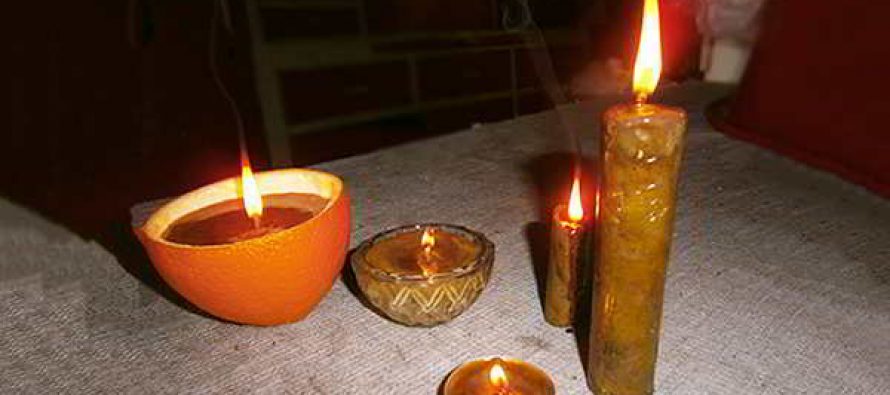
'Ah, ha!' I thought... Candle Making, what a neat idea. But I do not know where to start.
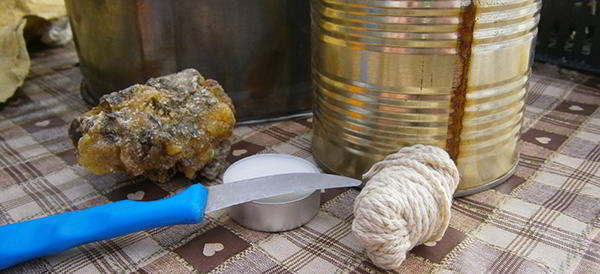
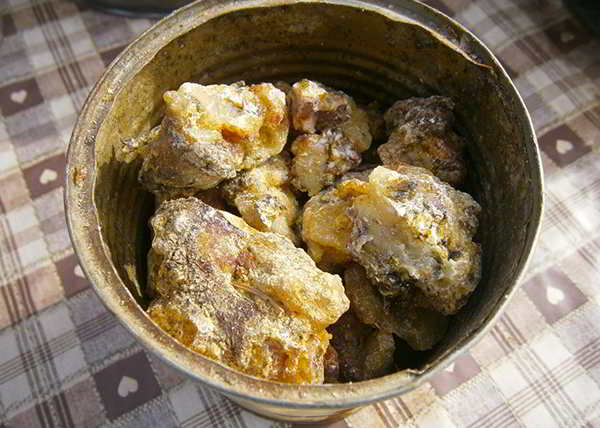
Not even sure when I'll start. Just preparing the items and getting ready.

Does anybody out there make their own candles? If so... What do you get, how did you learn and what do you do? Please, let me know. I hope this post not only helps me, but helps others.

Somewhere in Maine,
-The Country Girl

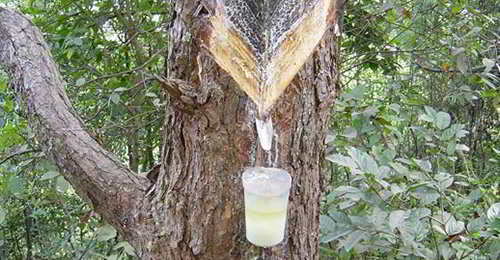
P.S. To make the candles fun and extra special, how would I make my very own essence out of pine or flowers? (Even fruits!) Do I sound far fetched? I am new to this!

Also- (I ramble) - If I don;t respond right away. Sorry ahead of time, I don;t check my inbox as often and I should. :D
 

sumi

Rest in Peace 1980-2020
Joined
Sep 26, 2013
Messages
7,025
Reaction score
5,296
Points
337
Location
Ireland
I used to make candles, many years ago, but just for fun, nothing fancy. We melted candles and crayons (for colour) and used that wax to make new candles, reusing the wicks. I can't remember what we used as molds, but I know one technique I tried (not very successfully) was dipping the wicks in melted wax over and over and over, letting the wax deposit dry in-between, until your candle is the required thickness.
 

Swede

Lovin' The Homestead
Joined
Aug 7, 2017
Messages
174
Reaction score
92
Points
83
You first decide what wax you want to make it with, I use "paraffin wax" it's the most popular and ya get in shops.

There are many colors, you just select what one you want :)
IMG_3435.JPG


Then, shave (with a knife) the wax into shavings. Smaller chunks melt better than big ones :)

IMG_3436.jpg

Then, fill a large pot halfway with water.
IMG_3437.jpg

Place the wax chunks or shavings in a smaller, heat-resistant container. Place this smaller container inside the larger pot, creating a makeshift double boiler. Note: You cannot put candle wax directly on heat or it will catch fire or evaporate. Turn the heat to high so that the water boils. The boiling water will slowly melt the wax.
  • Keep in mind that wax can be difficult to clean--you may want to purchase a cheap, heat-safe pot that you designate specifically for making candles.
IMG_3438.jpg

Add scent to your melted wax. The scent you choose is up to you. Scents such as essential oils can be purchased at your local craft store. It is best to read the bottle’s directions rather than base the amount you put in on how strongly it smells after the scent has already been added. Stir well.

Add coloring. Normal food coloring will not work in candles because they are water-based. Purchase oil-based dyes at your local craft store. You can generally find specific candle dyes. Read the bottle for the proper amount of dye to put in to achieve a certain color. Add drops of coloring until you have reached your desired color. Stir well.

Place a wick in the center of the candle mold. You can use tins, mason jars, old teacups, really any sort of container that you know can withstand heat. Metal tins are generally the safest way to go but as long as you know your container can stand up to heat, you can really use whatever you like. Place them on a flat surface in your protected workspace (such as on a cookie sheet or a cutting board.) The wick should be in the center of the candle mold with about two inches sticking out of the candle. Loop the end that will be out of the wax around the center of a pen or pencil. Rest the pen across the top of the mold you will be pouring your wax into. Make sure the wick hangs down straight into the center of the mold.
IMG_3441.jpg
  1. Pour the melted wax into the mold. Pour slowly so that it does not spill over. Make sure not to knock the wick out of the mold accidentally. You are the judge of how full you want your molds to be. Beeswax will shrink a little once it has cooled so keep that in mind when pouring it into your molds.
  2. Remove the wax from the mold and trim the wick down to ¼ inch (0.64 centimeters). This will help contain the flame, as a longer wick will cause the flame to be too large.
  3. Then enjoy!
 

Britesea

Sustainability Master
Joined
Jul 22, 2011
Messages
5,676
Reaction score
5,732
Points
373
Location
Klamath County, OR
I just recently read that you can make candles using pine resin. Now that excited me since I'm surrounded by pine forests and gathering the resin would be free! I need to look up the tutorial again; if anyone else is interested, I'll post it here.

If you are using paraffin, you might want to get some stearic acid, which makes the paraffin harder and burn longer. I've made candles using Spam containers, tuna cans, etc.
 

Britesea

Sustainability Master
Joined
Jul 22, 2011
Messages
5,676
Reaction score
5,732
Points
373
Location
Klamath County, OR
DIY-Candles-out-of-Pine-Resin-890x395_c.jpg


By Arminius (from askaprepper)

The pine tree is one of the most overlooked natural resources as it has multiple survival uses. The entire tree is edible, from the bark to the pine cones. You can make pine needle tea or use the roots as cordage.

The most versatile item is the pine resin, you can use it to make candles, glue, treat wounds, to start a fire, a water-proof sealant and many more.

To tap a pine tree, use an axe or a machete to cut the bark. Tie a bucket around the tree at the bottom of your area. The bucket must stay firm against the tree as it will collect the pine sap. Hack “V” shaped notches in the cleared area pointed to the bucket. You can gather even more sap if you stick a beak like metal object to direct the sap to the bucket.

How-To-Tap-Pine-Resin.jpg


Pine candles shine brightly and give you one of the greatest scents—pine wood.

Necessary Ingredients
  • At least one container to melt the resin in (a tin can in this case)
  • Another container that will be used for the candles
  • Some rope to make the wick
  • A knife
  • A fireplace or someplace to melt the resin
  • And, of course, the resin
    How-to-Make-Candles-out-of-Pine-Resin-Ingredients.jpg
I thought that I’d use more types of containers. It’s always fun to experiment.
How-to-Make-Candles-out-of-Pine-Resin-Containers.jpg


Step One: Melting the Resin
After you light the fire, fill your container with the resin. Don’t be scared to fill it to the brim as it will melt down and fill in all the gaps.

Also, it will be even less if you want to filter it out, so it’s fine to go all out.
How-to-Make-Candles-out-of-Pine-Resin-Melting-The-Resin.jpg


WARNING: The resin might catch on fire if the heat is too high. Just take it off the fire with some pliers, and blow the flames out. Make sure you never hold the can—it gets extremely hot. Be sure to stand next to it while it melts as it may burn to ash if you’re not careful.
How-to-Make-Candles-out-of-Pine-Resin-Melting-The-Resin-2.jpg


While all the resin melts, start working on getting the candle holders ready.

Step Two (Optional): Filtering Out All the Yuck
After melting it all down, you will need another container and something to filter out the bark and the pine needles. I used an old fish landing net.
How-to-Make-Candles-out-of-Pine-Resin-Filtering.jpg


Get the filter ready, and pour the hot resin over it and into the container. You will need to work quickly because it cools off fast and might clog up the holes of the filter. For this to work, you will need to move the resin around a little bit so that it can go down into the container.
How-to-Make-Candles-out-of-Pine-Resin-Filtering-2.jpg


Step Three: Making the Candles
After getting your container ready and cutting the rope to the perfect size, you are ready to make your candles. You might have to put the filtered resin back onto the fire to get it ready for pouring once again.

Pour a little bit of hot resin into the candle holder; it will help to fix the wick.
How-to-Make-Candles-out-of-Pine-Resin-Orange-Candle.jpg


After this, dip the rope into the resin quickly for it to soak some up. This is necessary to get the wick standing straight while you’re pouring the resin.
How-to-Make-Candles-out-of-Pine-Resin-Metal-Candle.jpg


Now you just have to put the wick in and leave it to rest for a few seconds so it can harden.
How-to-Make-Candles-out-of-Pine-Resin-Orange-Candle-2.jpg


Finally, you will have to fill it up. You might also need to keep the wick straight with your hands. It will melt the resin that’s holding it and may try to fall down; just use toothpicks to keep it at the same spot until it hardens, which will take roughly 10–15 minutes.
How-to-Make-Candles-out-of-Pine-Resin-Candles.jpg


Enjoy your homemade pine resin candles.
 

Latest posts

Top