MoonShadows
Almost Self-Reliant
I read this on the Growing a Greener World website. I have experimented with many ways to tie up tomatoes over the years, but none ever seem to be totally sufficient. I am going to use this method this year. As the author says, they are sturdy, tall enough, wide enough, rust resistant, attractive, easily storable and long lasting.
The Ultimate Tomato Cage in 5 Simple Steps
By Joe Lamp'l on June 8, 2015
Of all the plants I grow in my edible garden, I have to say, my favorite are tomatoes! But, I don’t love the constant challenge of trying to keep them supported as they get really tall and wild. Yes, I’ve tried just about everything, but nothing worked well enough and at the same time, looked good enough in the garden for my taste…until now.

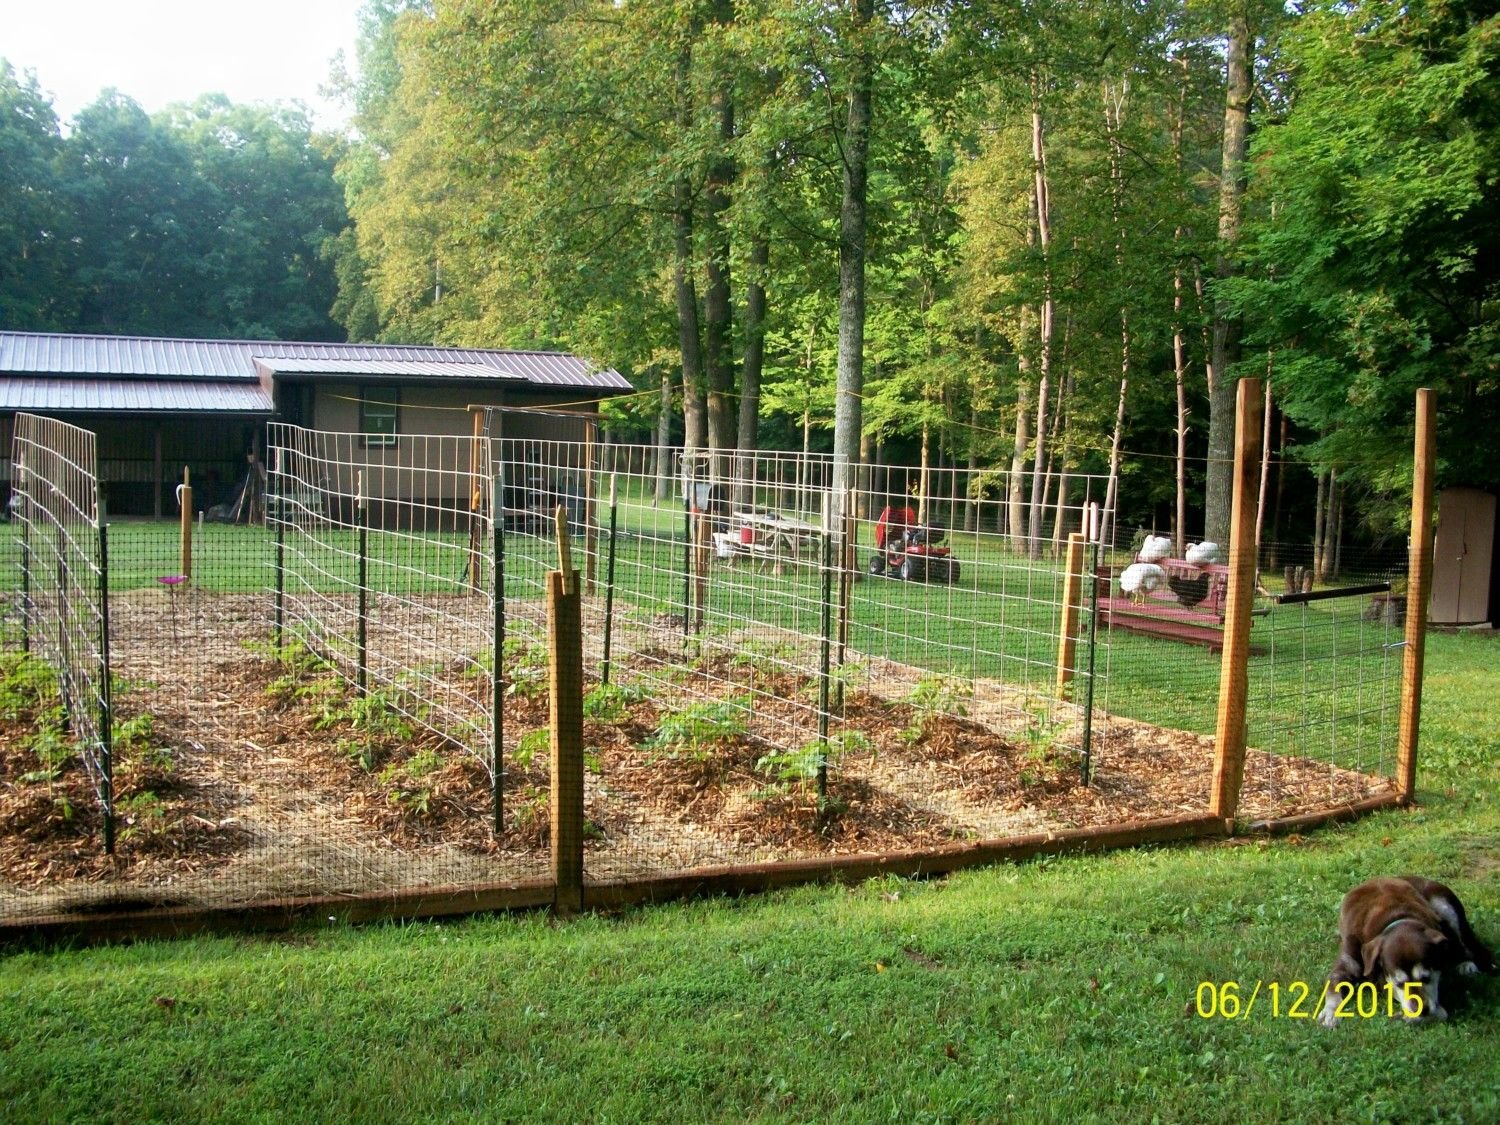
My “ultimate tomato cages” at work in the GGWTV garden. There are 24 and counting!
My ah-ha moment came as I was looking for more uses for those incredibly versatile livestock panels. I use them all around the garden, for supporting vining crops like cucumbers and peas, keeping my goats from eating some of my plants and one of my favorite uses, setting them on top of the beds at planting time for a handy grid template.

One of my favorite uses of these versatile panels is for my planting templates.
So why not use them for supporting tomatoes too? They meet all 7 of my criteria for what it takes to be considered the ultimate tomato cage: sturdy, tall enough, wide enough, rust resistant, attractive, storable, and long lasting.
You get livestock panels at the farm and tractor supply stores. Each one is 16 feet long and just over 4 feet wide. They’re made of galvanized metal and super sturdy.
Although I’m sure I didn’t invent this method for supporting tomatoes, I’ve never seen it in use, so my design is just what evolved through trial and error and settling on the ideal size for me. Yet these panels are large enough to adapt to almost any size you prefer.
In my case, I get one complete cage at the height and width I like, with some pieces left over that I can use elsewhere in the garden. That way, the entire panel gets used with no waste. While you might consider the cost of a livestock panel at $20 a bit expensive for a single tomato cage, considering that these will last for years and with all the usable excess pieces, I think it’s a very good deal.
You just need two things to make these cages. One livestock panel for each cage (select the panel style that has a grid pattern approximately 6 inches square). You also need a pair of bolt cutters. My pair cost about $22 at Home Depot and well worth it. I tried a smaller pair but found they made my the palms of my hands sore after a short while of cutting. For the small difference in price and a one-time purchase, the larger size is well worth it.
Here are the steps on how I make the Ultimate Tomato Cage:
1. Place one full livestock panel on a flat surface. A driveway works well. Using a complete panel, count across the width so you have six complete squares and cut away the rest, all the way down the length of the panel.

Large bolt cutters and a flat surface make for quick work
2. With the width of the long panel now reduced to 6 squares, I count down from one end 9 squares, and cut all the way across, just above the horizontal piece at the bottom of this 9th square.

With the width of the original panel reduced to the desired size, now it’s time to cut for the desired height.
I prefer the bottom of this panel to have long vertical pieces that can be driven extra deep into the soil to serve as the anchoring stakes. If you choose this extra deep option, then cut away the horizontal pieces one level up at the 8th square also (the equivalent of two squares deep) as shown below.

Cut away the horizontal pieces, between the vertical pieces. This leaves long spikes to anchor each panel in the soil.
3. I then repeat step 2, starting from the other end of the original panel and count down 9 squares. Once you cut across this piece, you now have 3 remaining pieces. The middle piece is now a nice sized panel with many versatile uses in and around the garden.
The two remaining pieces are what will make up your cage support.
4. Place one of the sections under a piece of straight lumber at least as long as the panel so that 3 squares are showing against the straight edge of the lumber. I like to have the panel facing up so the long vertical rib is resting against the edge of the wood edge. This serves as a good guide and support as you bend up the panel from the outside edge towards you until you get a 90-degree angle.

The edge of a board serves as a good anchor for leverage and a straight guide for bending the panel towards you.
Then simply repeat this process for the other panel.
5. Stand the panels so the lose spike ends are facing up. Take a second to straighten each one so when they are set in place in the soil, they all go in evenly.

Taking a few seconds to straighten the ends will make inserting them into the soil much easier.
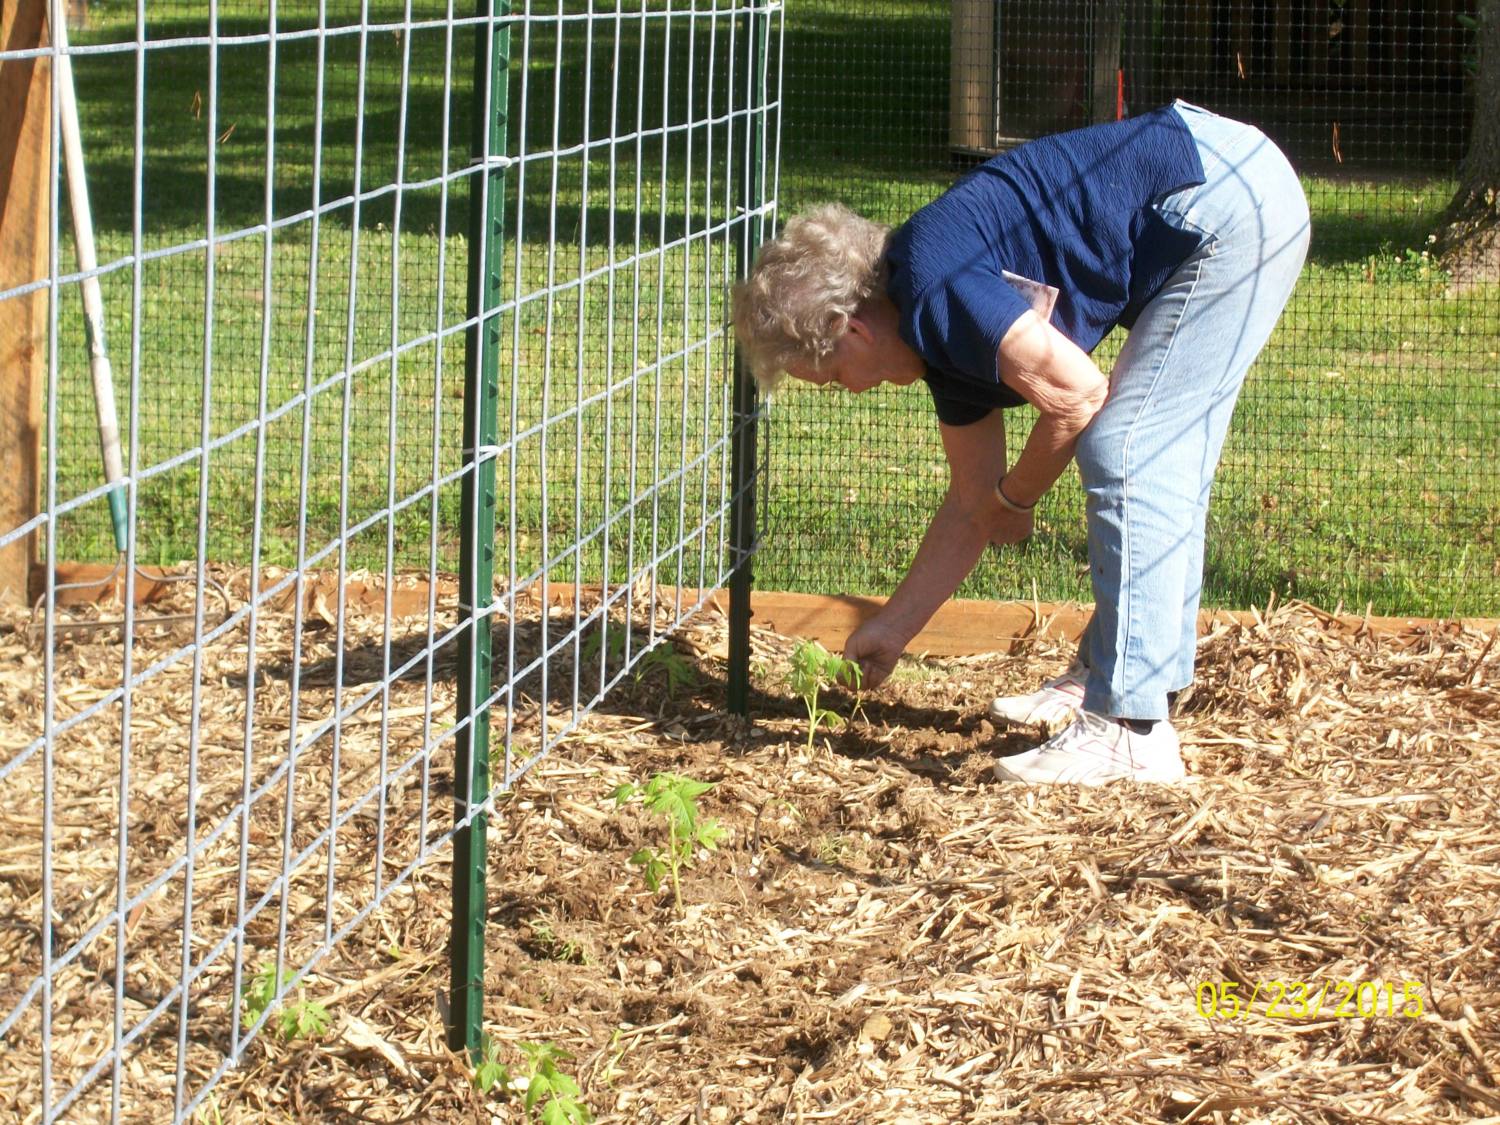
Now it’s simply a matter of inserting them in the garden bed around each plant so that when both panels are installed, they form a square cage with the plant centered in the middle.

With straight spikes as the anchors, both panels should match up nearly perfectly.
A final but optional step to make it tidy is to secure each piece together with small cable ties. I use 4-inch ties, one at the top, one in the middle and one towards the bottom of each seam. This holds the panels firmly together and gives added stability and a seamless, solid look.

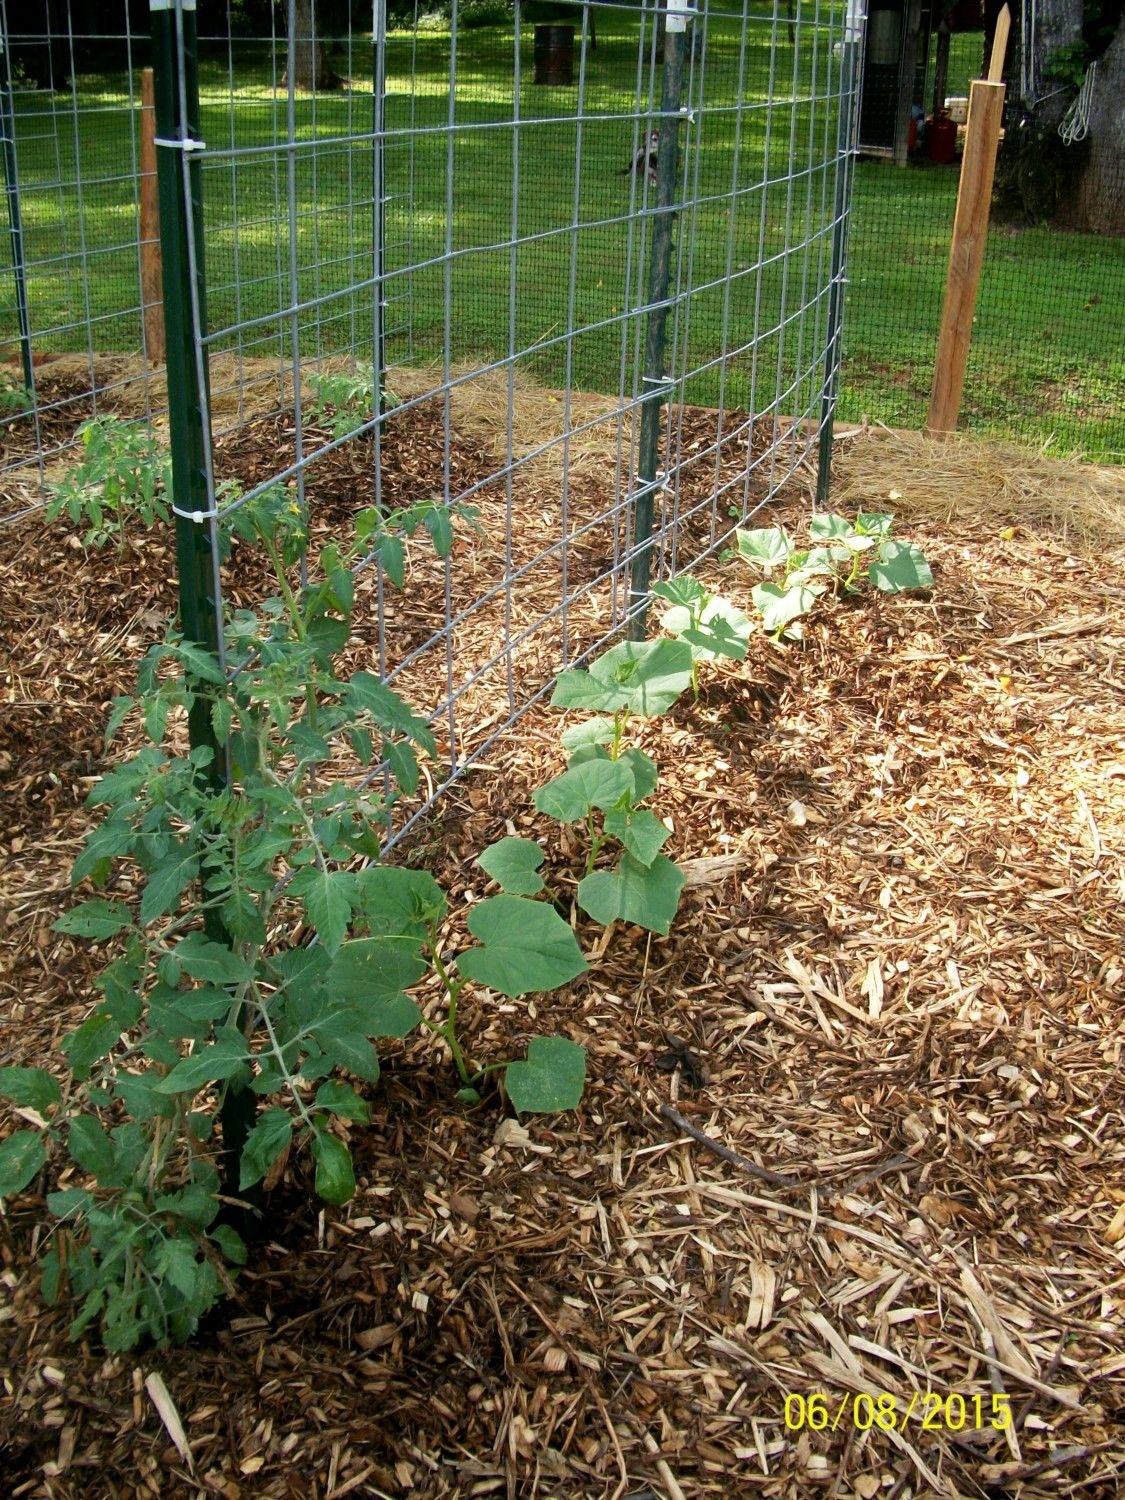
The tomato plants adapt beautifully while growing into their new homes.
That’s all there is to it. These cages are super sturdy, tall enough and just wide enough so as not to crowd the plant but still leave ample room for other cages in the bed. However, if you prefer even a taller or wider cage, a single panel in its original size allows for both.
At the end of the season, cut away the cable ties, separate the panels and stack them in a neat pile until the next time, and for many years after that.
So what do you think? Do you like? How would you improve upon this? I would love to put all the brainpower out there to work. I’m anxious to hear your thoughts!
The Ultimate Tomato Cage in 5 Simple Steps
By Joe Lamp'l on June 8, 2015
Of all the plants I grow in my edible garden, I have to say, my favorite are tomatoes! But, I don’t love the constant challenge of trying to keep them supported as they get really tall and wild. Yes, I’ve tried just about everything, but nothing worked well enough and at the same time, looked good enough in the garden for my taste…until now.

My “ultimate tomato cages” at work in the GGWTV garden. There are 24 and counting!
My ah-ha moment came as I was looking for more uses for those incredibly versatile livestock panels. I use them all around the garden, for supporting vining crops like cucumbers and peas, keeping my goats from eating some of my plants and one of my favorite uses, setting them on top of the beds at planting time for a handy grid template.
One of my favorite uses of these versatile panels is for my planting templates.
So why not use them for supporting tomatoes too? They meet all 7 of my criteria for what it takes to be considered the ultimate tomato cage: sturdy, tall enough, wide enough, rust resistant, attractive, storable, and long lasting.
You get livestock panels at the farm and tractor supply stores. Each one is 16 feet long and just over 4 feet wide. They’re made of galvanized metal and super sturdy.
Although I’m sure I didn’t invent this method for supporting tomatoes, I’ve never seen it in use, so my design is just what evolved through trial and error and settling on the ideal size for me. Yet these panels are large enough to adapt to almost any size you prefer.
In my case, I get one complete cage at the height and width I like, with some pieces left over that I can use elsewhere in the garden. That way, the entire panel gets used with no waste. While you might consider the cost of a livestock panel at $20 a bit expensive for a single tomato cage, considering that these will last for years and with all the usable excess pieces, I think it’s a very good deal.
You just need two things to make these cages. One livestock panel for each cage (select the panel style that has a grid pattern approximately 6 inches square). You also need a pair of bolt cutters. My pair cost about $22 at Home Depot and well worth it. I tried a smaller pair but found they made my the palms of my hands sore after a short while of cutting. For the small difference in price and a one-time purchase, the larger size is well worth it.
Here are the steps on how I make the Ultimate Tomato Cage:
1. Place one full livestock panel on a flat surface. A driveway works well. Using a complete panel, count across the width so you have six complete squares and cut away the rest, all the way down the length of the panel.
Large bolt cutters and a flat surface make for quick work
2. With the width of the long panel now reduced to 6 squares, I count down from one end 9 squares, and cut all the way across, just above the horizontal piece at the bottom of this 9th square.
With the width of the original panel reduced to the desired size, now it’s time to cut for the desired height.
I prefer the bottom of this panel to have long vertical pieces that can be driven extra deep into the soil to serve as the anchoring stakes. If you choose this extra deep option, then cut away the horizontal pieces one level up at the 8th square also (the equivalent of two squares deep) as shown below.
Cut away the horizontal pieces, between the vertical pieces. This leaves long spikes to anchor each panel in the soil.
3. I then repeat step 2, starting from the other end of the original panel and count down 9 squares. Once you cut across this piece, you now have 3 remaining pieces. The middle piece is now a nice sized panel with many versatile uses in and around the garden.
The two remaining pieces are what will make up your cage support.
4. Place one of the sections under a piece of straight lumber at least as long as the panel so that 3 squares are showing against the straight edge of the lumber. I like to have the panel facing up so the long vertical rib is resting against the edge of the wood edge. This serves as a good guide and support as you bend up the panel from the outside edge towards you until you get a 90-degree angle.
The edge of a board serves as a good anchor for leverage and a straight guide for bending the panel towards you.
Then simply repeat this process for the other panel.
5. Stand the panels so the lose spike ends are facing up. Take a second to straighten each one so when they are set in place in the soil, they all go in evenly.
Taking a few seconds to straighten the ends will make inserting them into the soil much easier.
Now it’s simply a matter of inserting them in the garden bed around each plant so that when both panels are installed, they form a square cage with the plant centered in the middle.
With straight spikes as the anchors, both panels should match up nearly perfectly.
A final but optional step to make it tidy is to secure each piece together with small cable ties. I use 4-inch ties, one at the top, one in the middle and one towards the bottom of each seam. This holds the panels firmly together and gives added stability and a seamless, solid look.
The tomato plants adapt beautifully while growing into their new homes.
That’s all there is to it. These cages are super sturdy, tall enough and just wide enough so as not to crowd the plant but still leave ample room for other cages in the bed. However, if you prefer even a taller or wider cage, a single panel in its original size allows for both.
At the end of the season, cut away the cable ties, separate the panels and stack them in a neat pile until the next time, and for many years after that.
So what do you think? Do you like? How would you improve upon this? I would love to put all the brainpower out there to work. I’m anxious to hear your thoughts!
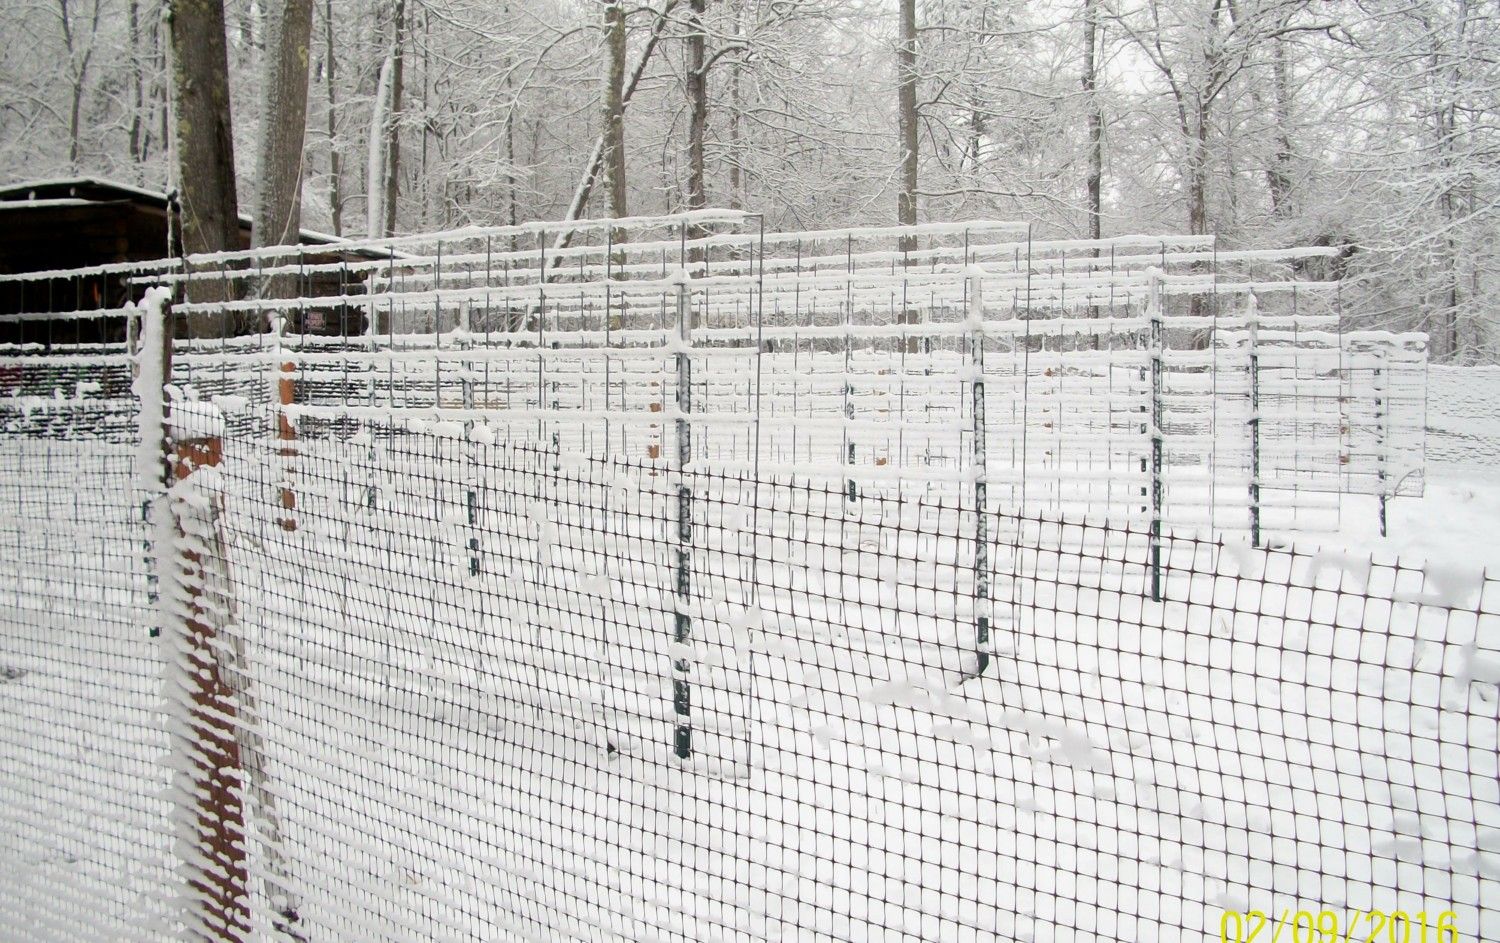


 so i think i need a chicken proof tomato cage & one they cant get their heads into HA