WantonWoodsman
Enjoys Recycling
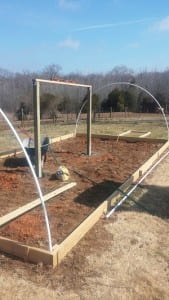
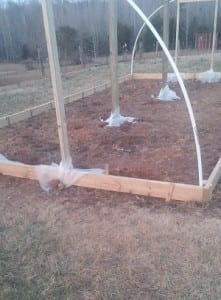
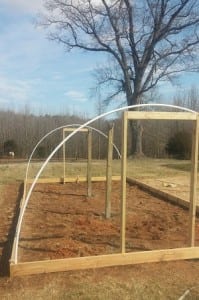
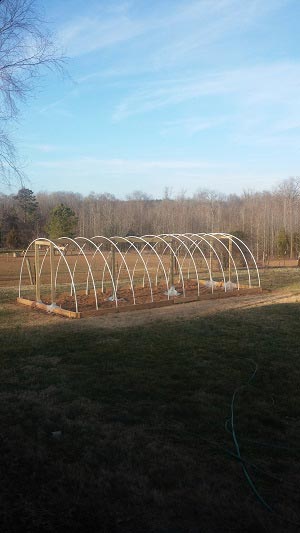
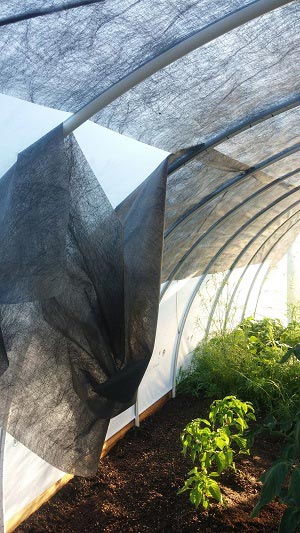
Hi all. My wife and I constructed this tunnel for some indoor veggies. Our first crops grew well and we harvested plenty. But soil nutrition was also to be taken into consideration. Carting manure back and forth was an option, but also labor intensive. So....came up with an idea! Had my sheep use the tunnel as a shelter in the winter and when spring breaks.....I have a whole lot of manure in my tunnel. Crops are doing well again.


Last edited:
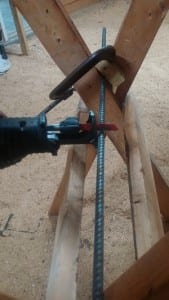
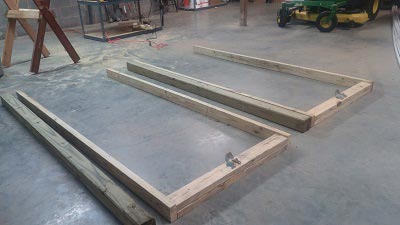
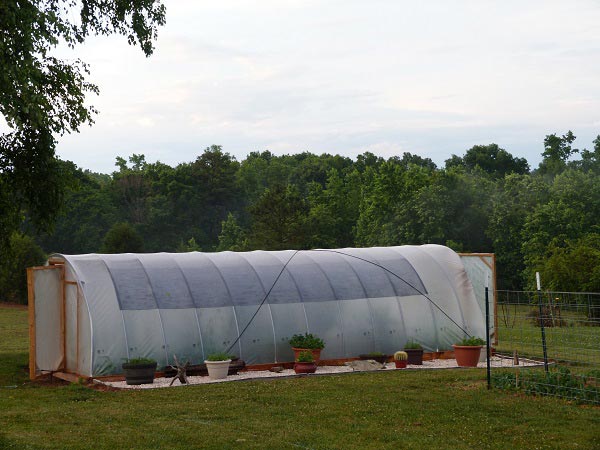
 I think my frame is 16 feet wide and 40 feet long. I haven't assembled it, I just grabbed the good deal while I got the chance. Have to cut some trees and clear briars-another big chore that isn't on the front burner of a long list of things to do around here.