- Thread starter
- #221
modern_pioneer
Mountain Man
- Joined
- Feb 27, 2009
- Messages
- 1,394
- Reaction score
- 15
- Points
- 192
- Location
- In the woods with the critters
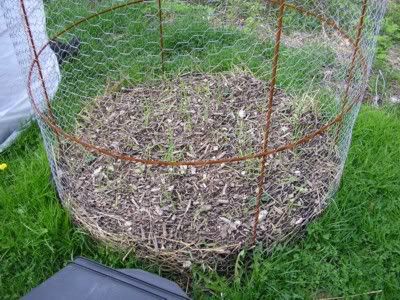
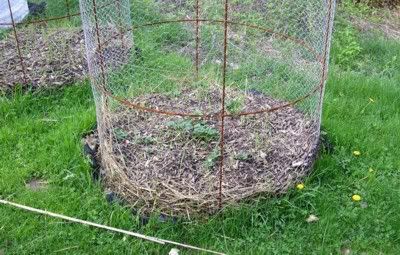
Mackay, I tried using a small test sample of a pvc frame, I didn't like it, just wasn't sturdy enough for my liking.
I own a couple of metal fabrication shops, so my idea was to use 1" x 1/8 steel flat bar, rolled them in a rolling machine, this process also can be done by hand using a cut out jig in the radius you want from some ply wood. I welded the frame together and used zip strips/electrical wire ties to attach the wire to the frams.
******* useful tip*******
Because hardware wire is round, it will destroy your sheetmetal shears/cutters. Using a cut-off wheel to cut the wire is not only ten times faster, saves your tools, and can be found at a local DIY box store for less than 8 bucs. This is also useful for all your round wires including chicken/cattle fencing. Please wear gloves and safety glasses.
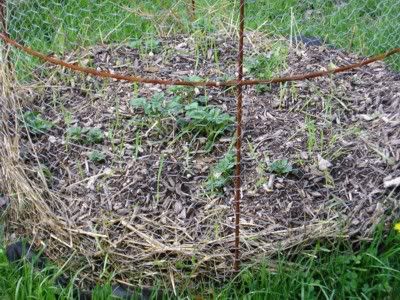
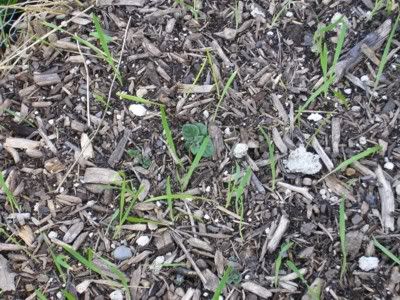
I checked on them before I took the camera out, and right now only one basket is up. But give me a few days, I post some soon.
Here you go G
~ 1 rabbit, cut into serving pieces
~ 1/3 cup all-purpose flour
~ 1/2 tsp salt
~ 1/8 tsp black pepper
~ 1/8 tsp cayenne pepper
~ vegetable oil for frying
~ 3 tbsp all-purpose flour
~ 1 1/2 cup milk or chicken broth
~ salt and pepper
~ brown bouquet sauce
In large plastic food-storage bag, combine 1/3 cup flour, salt, black pepper and cayenne pepper. Shake to mix. Add rabbit pieces. Shake to coat.In large skillet, heat 1/4 inch of oil over medium-high heat until hot. Add coated meat and brown on all sides. Reduce heat and cover tightly. Cook over very low heat until tender, about 20-25 minutes. Turn pieces once. Remove cover and cook 5 minutes longer to crisp. Transfer meat to plate lined with paper towels and set aside to keep warm. Discard all but 3 tablespoons of the oil. Over medium heat, stir 3 tbsp flour into reserved oil. Blend in milk or broth. Cook over medium heat, stirring constantly, until thick and bubbly. Add salt, pepper to taste.
Yes I did build the A-frames, I used 3 bundles of 1x2's and dry wall screws. They will split the wood hence the extra corner braces. I purchased the netting at the mill, I used smaller plastic netting last year, it ended up catching a few birds and I wasn't happy about that. Yes, I built some tee-pees for some flowers for my wife from bamboo last year. But I really wanted something I could use for more than five years. After weathering this year, I will coat them to protect than for the nexted couple years.
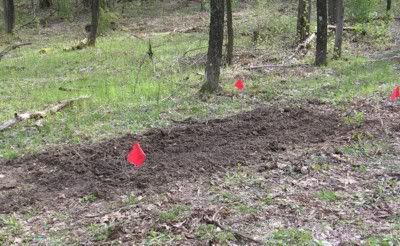
Today, I finished my last raised bed for the year, my carrot box. To keep it real here, I did somethings wrong last year, hence getting my head further/often into gardening books last winter. I tried to grow some carrots last year, that was a flop and a half.
I also have a couple projects that I haven't really mentioned yet, in the next few weeks, or sooner, I will share some more planting stuff I am going to try. Because they are gimmics, my test run should help you folks save some money by not purchasing faulty products. If they work, that will be great, nothing lost. But my hopes are just average I wanna see how they preform and share the results here.
I own a couple of metal fabrication shops, so my idea was to use 1" x 1/8 steel flat bar, rolled them in a rolling machine, this process also can be done by hand using a cut out jig in the radius you want from some ply wood. I welded the frame together and used zip strips/electrical wire ties to attach the wire to the frams.
******* useful tip*******
Because hardware wire is round, it will destroy your sheetmetal shears/cutters. Using a cut-off wheel to cut the wire is not only ten times faster, saves your tools, and can be found at a local DIY box store for less than 8 bucs. This is also useful for all your round wires including chicken/cattle fencing. Please wear gloves and safety glasses.
I checked on them before I took the camera out, and right now only one basket is up. But give me a few days, I post some soon.
Here you go G
~ 1 rabbit, cut into serving pieces
~ 1/3 cup all-purpose flour
~ 1/2 tsp salt
~ 1/8 tsp black pepper
~ 1/8 tsp cayenne pepper
~ vegetable oil for frying
~ 3 tbsp all-purpose flour
~ 1 1/2 cup milk or chicken broth
~ salt and pepper
~ brown bouquet sauce
In large plastic food-storage bag, combine 1/3 cup flour, salt, black pepper and cayenne pepper. Shake to mix. Add rabbit pieces. Shake to coat.In large skillet, heat 1/4 inch of oil over medium-high heat until hot. Add coated meat and brown on all sides. Reduce heat and cover tightly. Cook over very low heat until tender, about 20-25 minutes. Turn pieces once. Remove cover and cook 5 minutes longer to crisp. Transfer meat to plate lined with paper towels and set aside to keep warm. Discard all but 3 tablespoons of the oil. Over medium heat, stir 3 tbsp flour into reserved oil. Blend in milk or broth. Cook over medium heat, stirring constantly, until thick and bubbly. Add salt, pepper to taste.
Yes I did build the A-frames, I used 3 bundles of 1x2's and dry wall screws. They will split the wood hence the extra corner braces. I purchased the netting at the mill, I used smaller plastic netting last year, it ended up catching a few birds and I wasn't happy about that. Yes, I built some tee-pees for some flowers for my wife from bamboo last year. But I really wanted something I could use for more than five years. After weathering this year, I will coat them to protect than for the nexted couple years.
Today, I finished my last raised bed for the year, my carrot box. To keep it real here, I did somethings wrong last year, hence getting my head further/often into gardening books last winter. I tried to grow some carrots last year, that was a flop and a half.
I also have a couple projects that I haven't really mentioned yet, in the next few weeks, or sooner, I will share some more planting stuff I am going to try. Because they are gimmics, my test run should help you folks save some money by not purchasing faulty products. If they work, that will be great, nothing lost. But my hopes are just average I wanna see how they preform and share the results here.
")
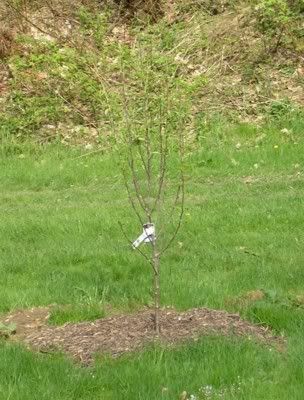
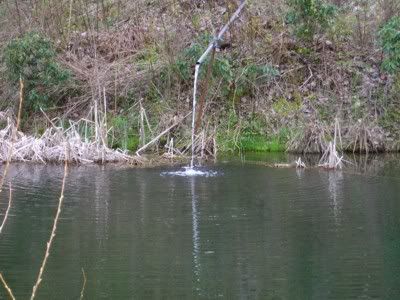
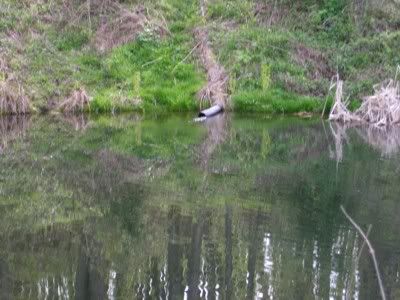
 I got almost all of my hardwoods planted today up on the hill. I also planted paper white birch trees staged around the pond. Those are so nice looking in that type of setting, adds color in the summer. I am so happy I pre-dug all the holes for my trees. I missed two holes for my Butter Nuts and had to dig those out by hand today. It took me maybe 6 times longer to plant each tree, verses getting to the hole, preping soil, planting the tree.


 The sad results was the mass killing of the 2nd year harvesting stems of my Darrow blackberries. I was saying all kinds of stuff at ole man winter today.

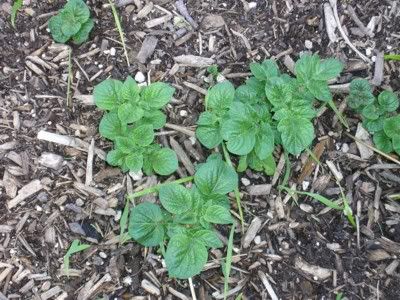
 I know some of you have been waiting for some results, wait till harvest time.